Docs
Register an Agent
Registration binds an agent install to your organization and gives it an identity, so the platform can route work to it. From then on the agent authenticates itself with short-lived signed tokens, so there is no long-lived password sitting on the host.
This picks up where Install the Agent leaves off, with the binary already on the host. If it is not there yet, install it first. An invite code starts expiring the moment you create it, so it pays to have the host ready before you make one.
Create an Invite
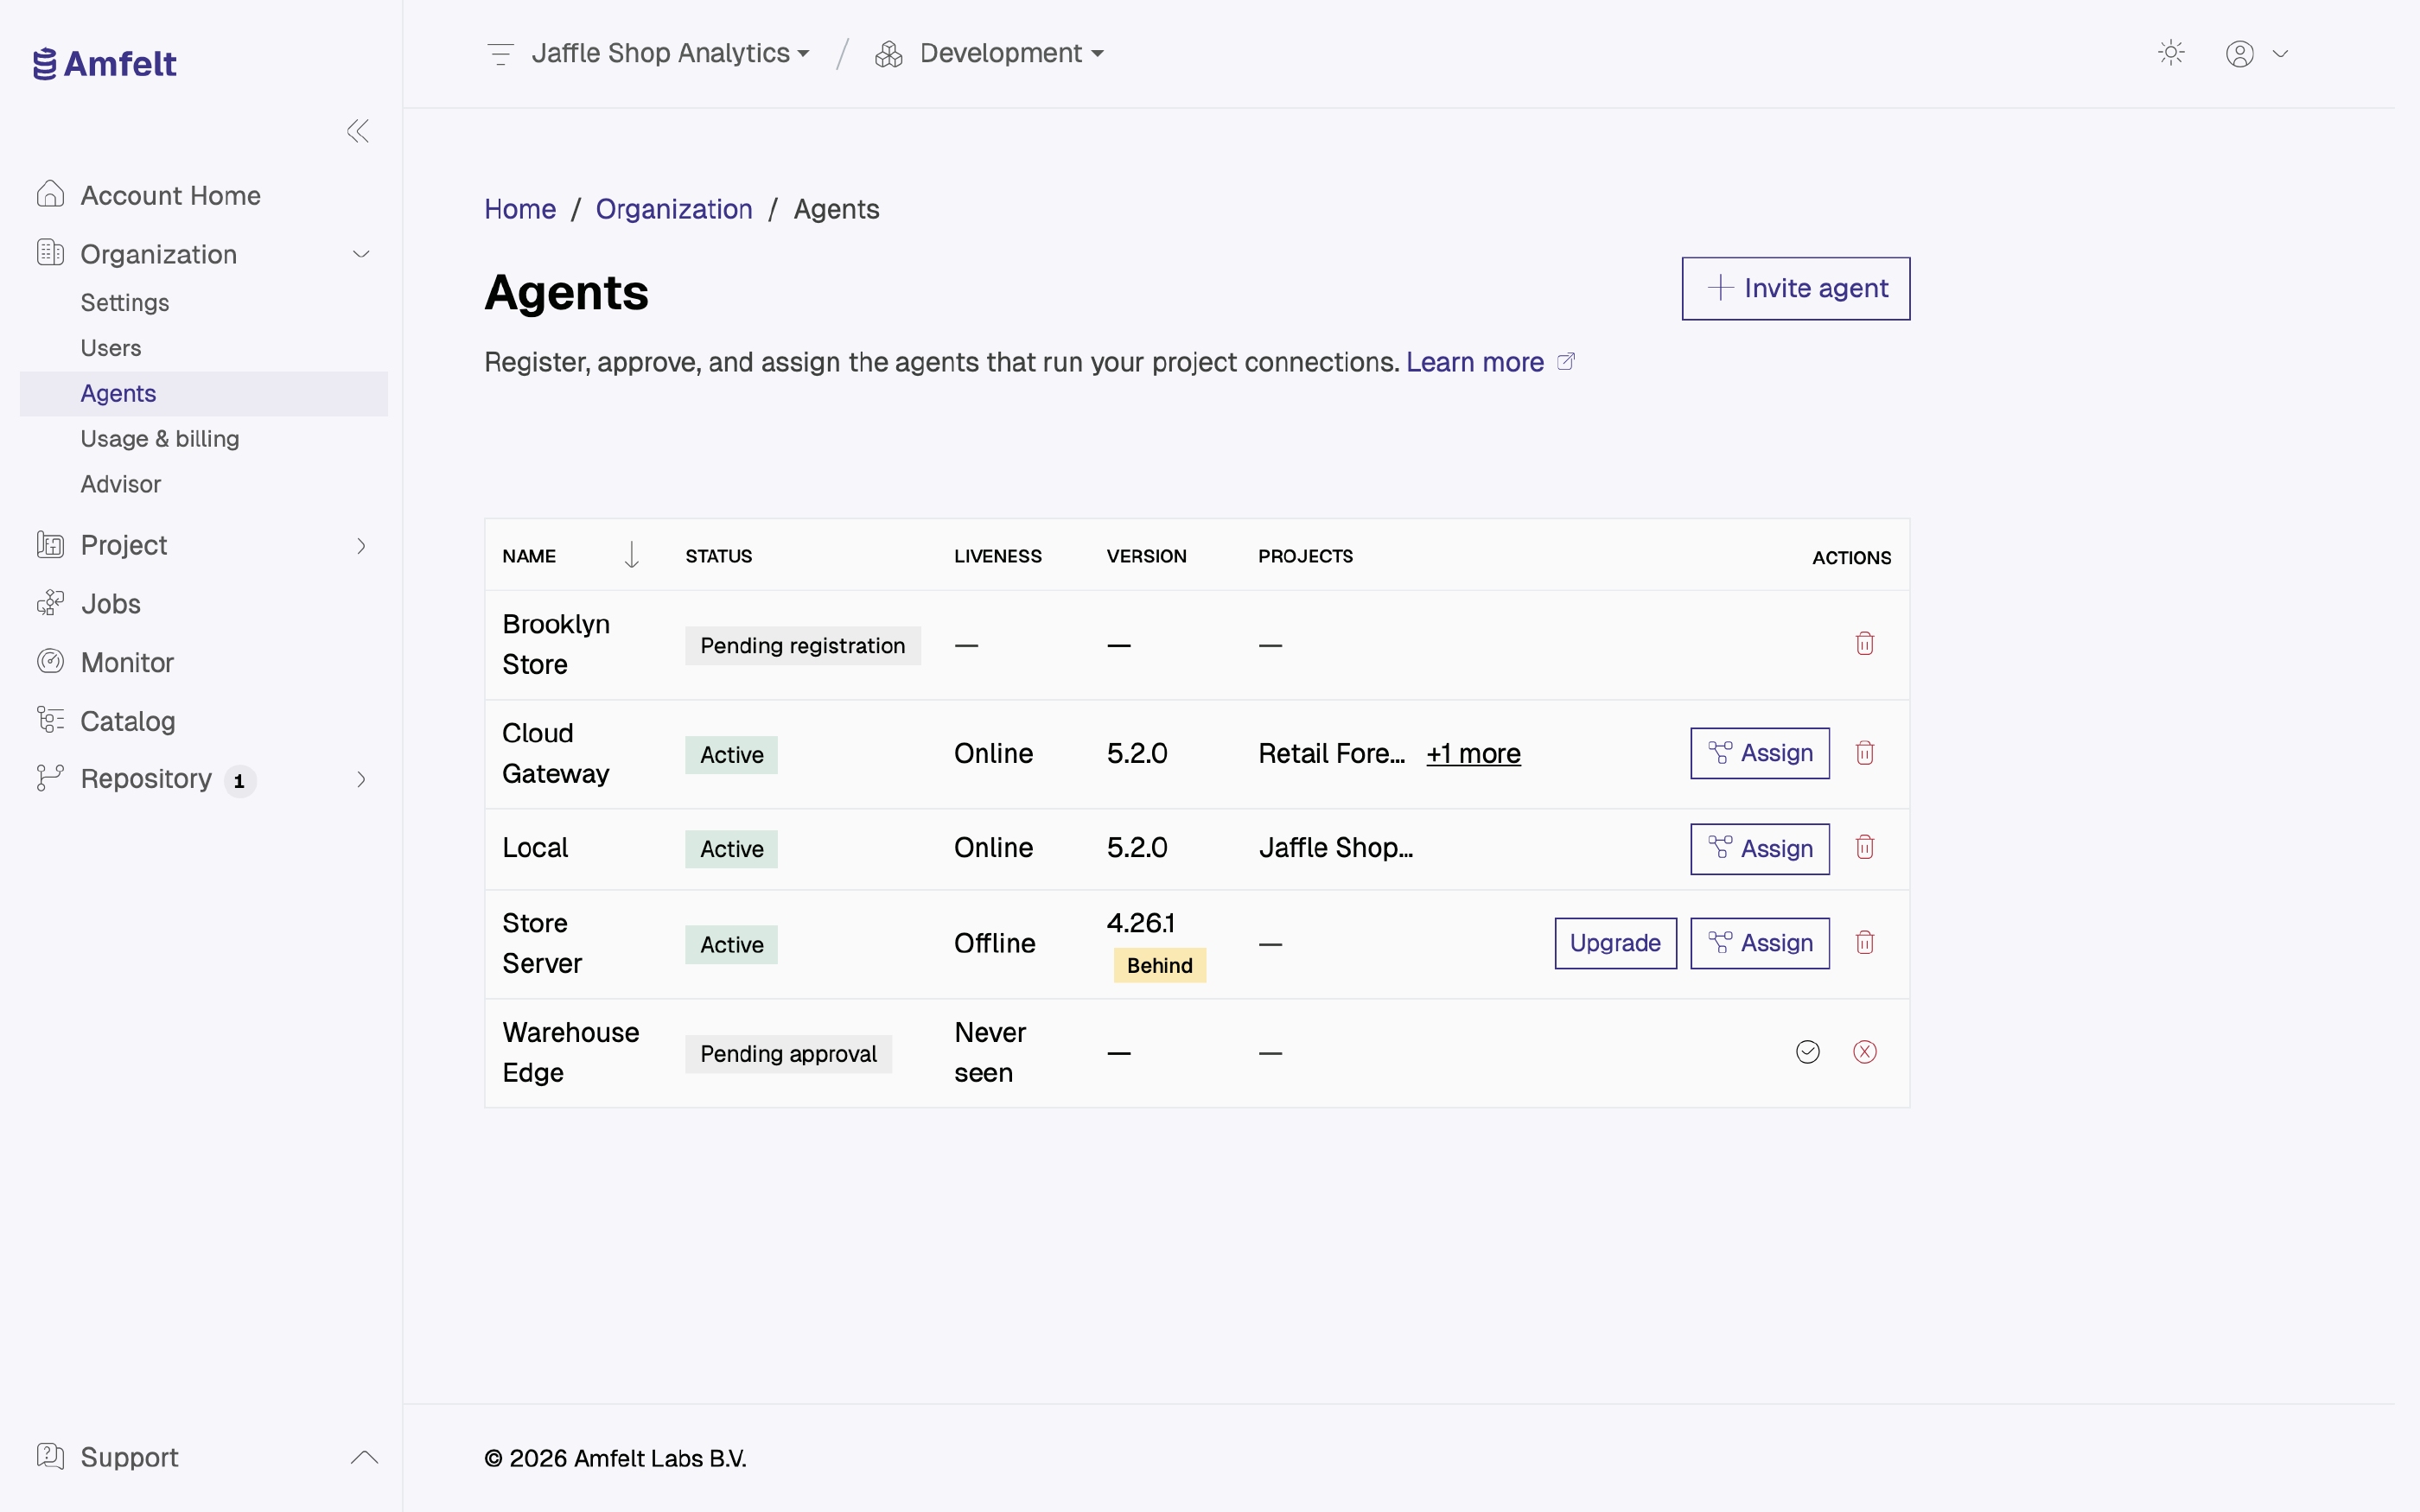
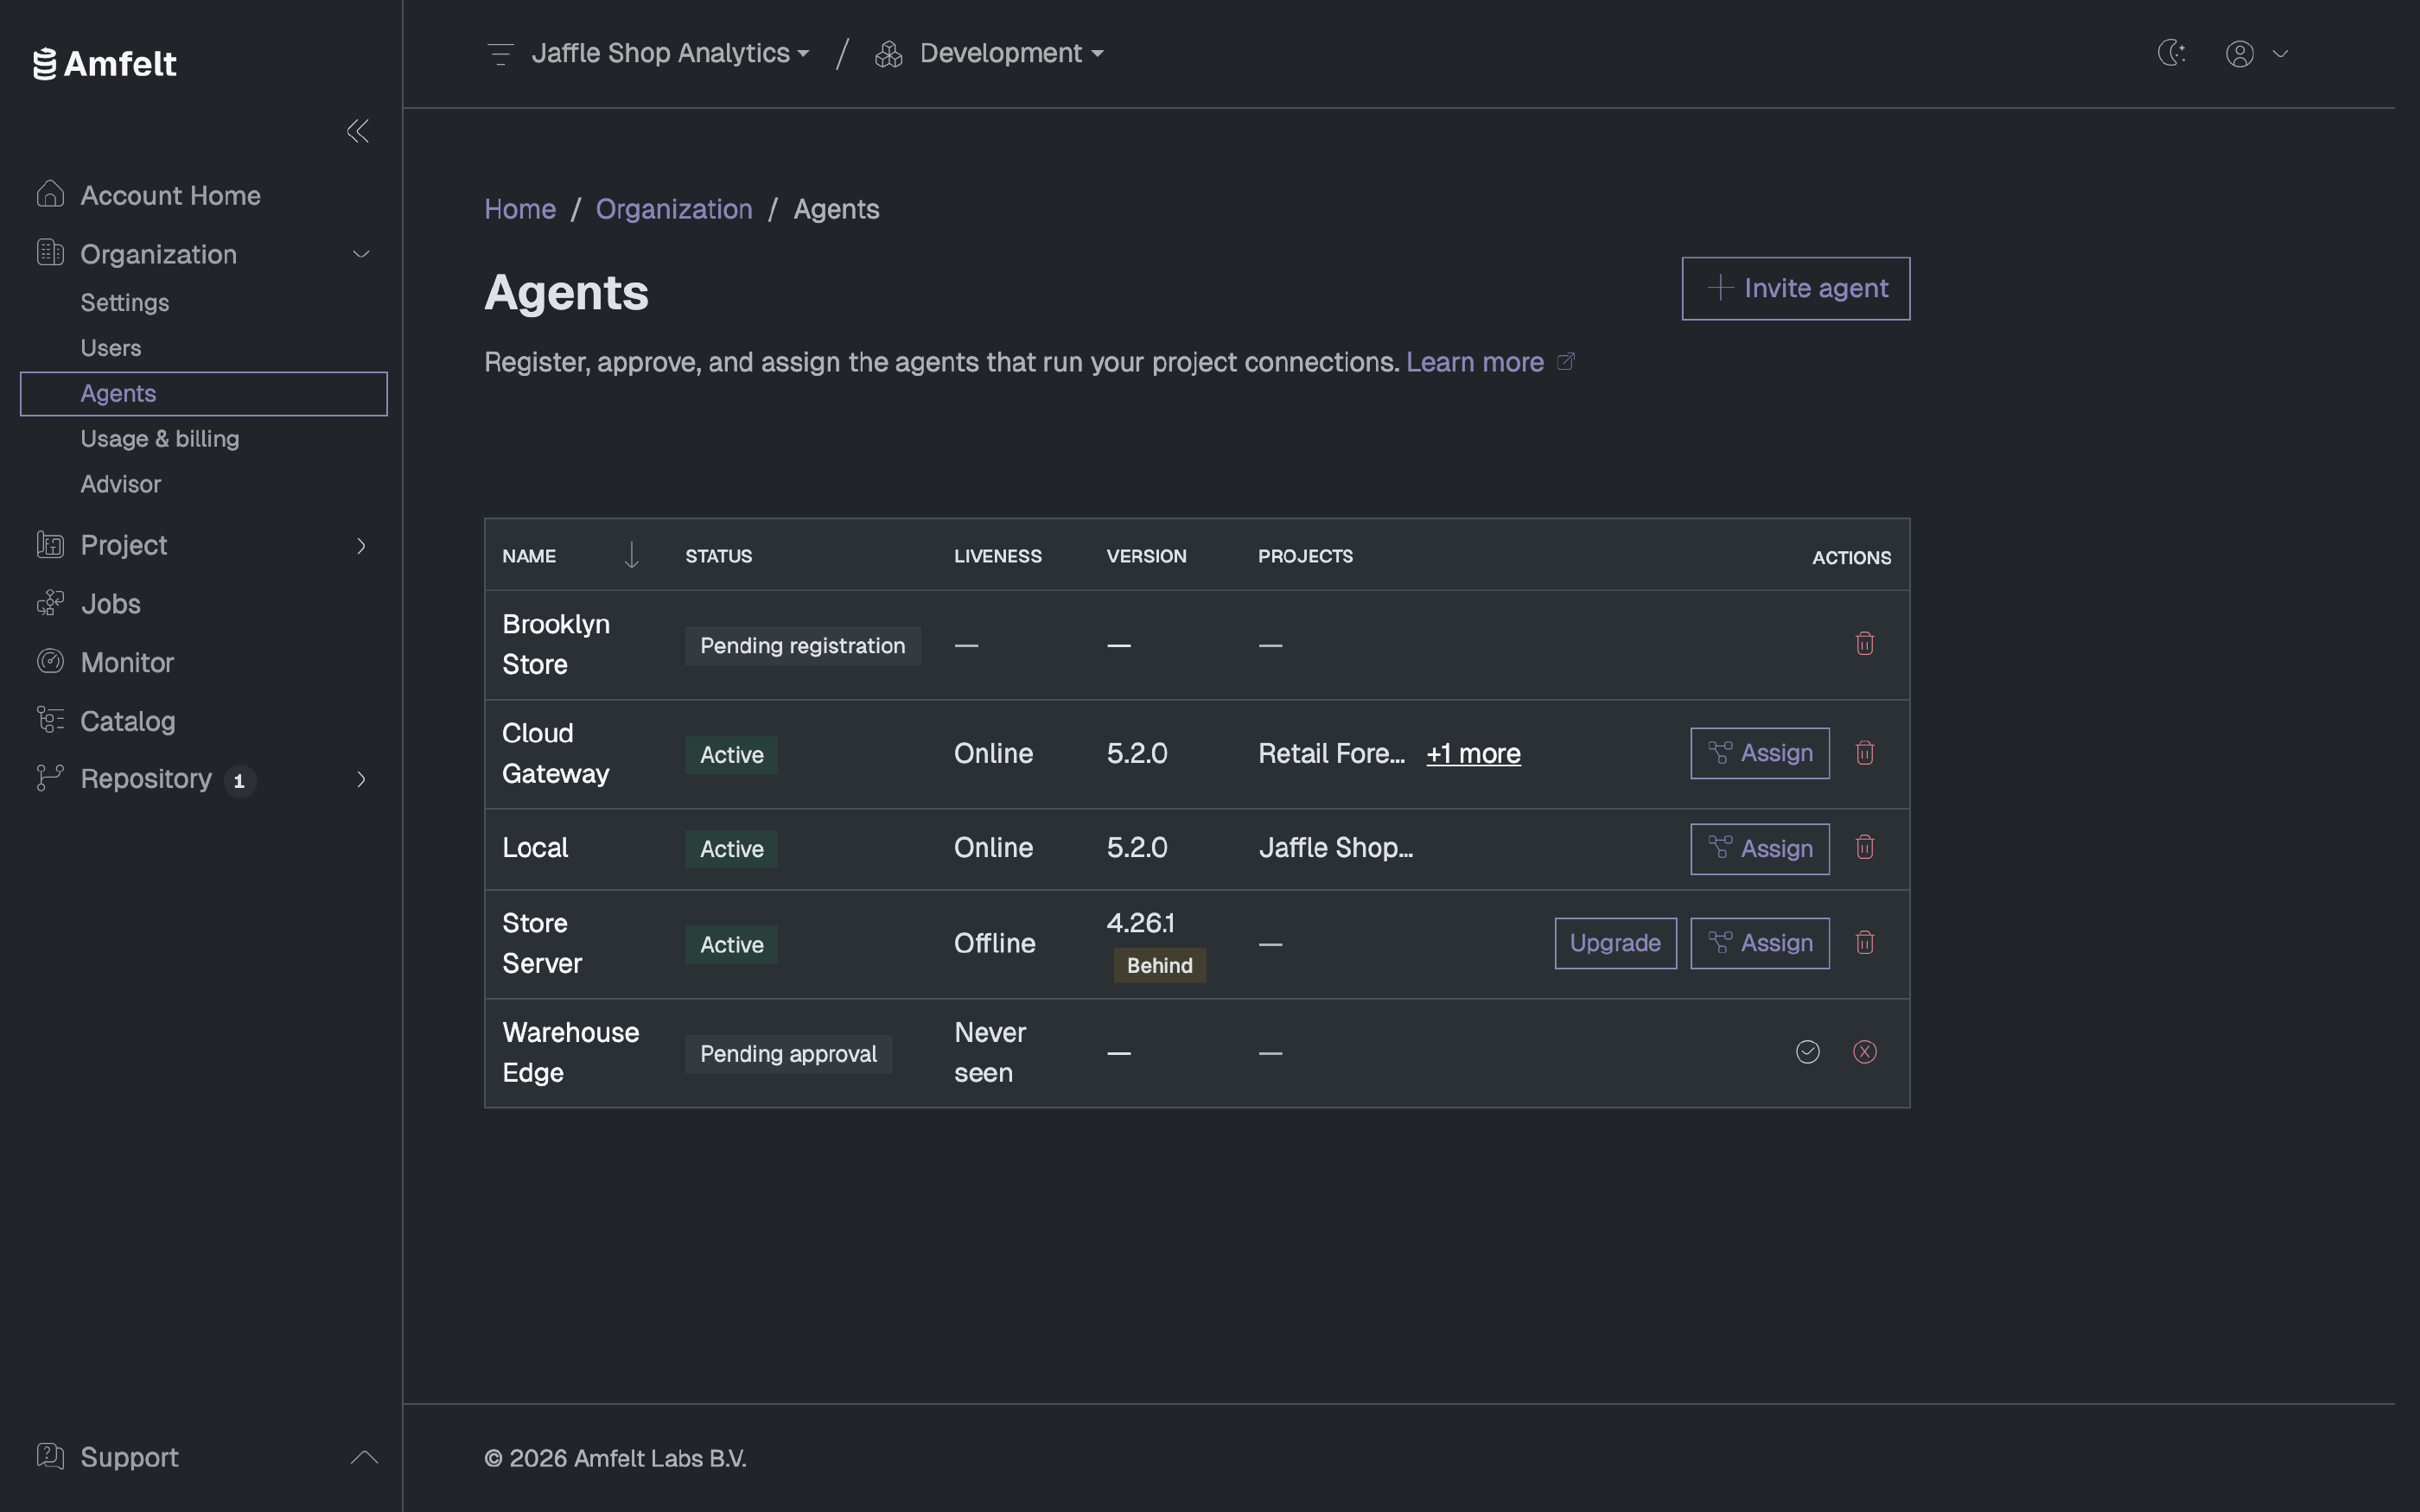
In the app, open your organization and go to Agents, then create an agent invite. You choose three things:
- Display name: how this agent appears in the agents list. Name it after the host or the environment it serves, not after the person who created it.
- Whether approval is required before the agent can connect. Leave it on when the person installing the agent is not the person who should authorize it.
- How long the invite stays valid: one hour, 24 hours, or seven days. Pick the shortest window that fits how quickly the install will actually happen.
The invite produces a one-time code, and it is shown exactly once. Copy it before you dismiss the panel; afterwards only a hint of it is stored, and an invite you have lost has to be replaced rather than recovered.
Register on the Host
The invite panel in the app shows the exact commands for your system, with the install step first. Run them on the machine where you installed the agent. The register command takes the code from the invite:
amfelt register --code <one-time-code>These commands use amfelt, the executable name.
The agent knows where Amfelt is: unless you tell it otherwise it registers with https://api.amfelt.com, and it prints that address before it sends anything. After a successful registration it remembers the address, so amfelt channel and the other commands need no endpoint setting.
Two cases need an explicit endpoint: a self-managed or on-premises Amfelt, and a demo or test environment. Pass --api-url <your-endpoint> or export AMFELT_API_ENDPOINT=<your-endpoint> in the shell you register from. An explicit endpoint always wins over the remembered one and over the default.
The built-in address is only for a first registration. If the agent finds an identity file on the host, in $AMFELT_DIR, or in ~/.amfelt, it refuses to use the default, says so, and does not use your code. Give it the endpoint, or register in a fresh directory with AMFELT_DIR. An agent that registered somewhere else never switches to the default.
If the invite requires approval, add --wait-for-approval and the command blocks, polling until an administrator approves the agent:
amfelt register --code <one-time-code> --wait-for-approvalWithout that flag the command returns as soon as it has registered, and the agent simply waits for approval before it does any work.
Registering into a directory that already holds an identity is refused rather than silently ignored. Pass --force only when you mean to replace the identity that is already there.
Registration writes the agent’s identity to $AMFELT_DIR, or to ~/.amfelt for the user that runs the command when that is unset. The commands that come after it read the identity from the same place, so run them as the same user with the same AMFELT_DIR.
Where the Agent Keeps Its State
explains the layout.
Keep It Connected
Registration gives the agent an identity. The channel command is what keeps it reachable:
amfelt channelIt connects to the endpoint the agent registered against, which the agent remembered. For a self-managed Amfelt, or when you set an endpoint explicitly at registration, give the same endpoint here with --api-url or AMFELT_API_ENDPOINT. When a service manager starts it, set AMFELT_DIR in the service’s environment if you use it, and the endpoint if you set one explicitly, not only in your own shell.
This opens the long-lived outbound connection the platform dispatches runs over, and heartbeats so the agents list shows the agent as connected. On Linux, install.sh --service writes the systemd unit for you (
Install the Agent
). Run it under whatever supervises services on that host (systemd, launchd, a Windows service) so it comes back with the machine. It reconnects on its own with backoff when the connection drops.
Assign It to a Project
An agent belongs to the organization, but it does its work for a project. Assign it to the projects whose sources and data platform it should connect to, otherwise discovery and jobs have nothing to run on.
Next
Confirm the install is sound: Check Agent Health .
Last updated on October 30, 2026